Anchor nuts Boot Cowl Upgrade
- Category: KFA Safari
- Published: Monday, 25 December 2023 10:02
- Written by Super User
- Hits: 1312
- Safety Note: The information in this article is not intended to be complete engineering information. You must consult with a properly licensed engineer before duplicating any of the modifications described within this atricle. This article descibes a change to my aeroplane that I found to resolve a problem with guidance and checking from an LAA engineer.
Rivnuts are supplied with the kit to help fasten two parts together.
Rivnuts don't take much space and are easy to install using a special tool. They pull a bit like a rivet with a section collapsing and griping the surface. They are quick to install but have the problem sometimes they fail by turning in place so you can't remove the screw.
The engineer pointed out this problem and recommended oiling the screw to enable easy removal if the rivnut failed.
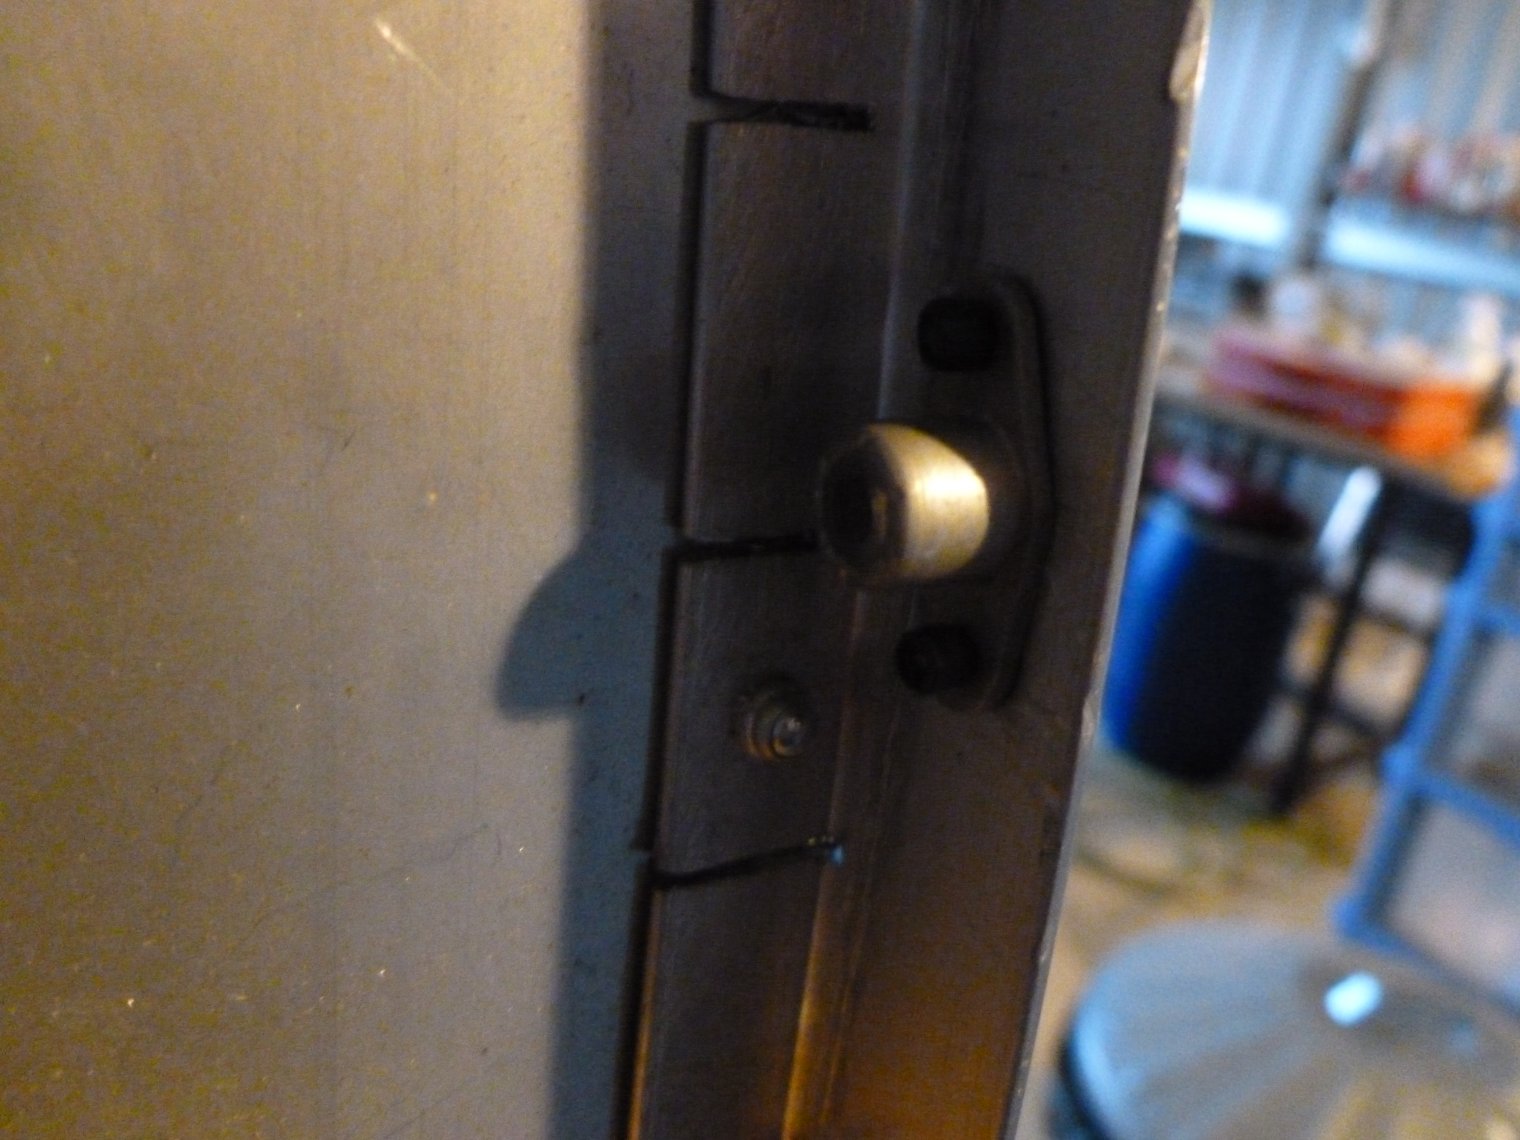
The instructions decribe the boot cowl as being fitted using rivnuts and nylocs nuts held behind the rivnut to lock the screws. I decided it would be better to use nyloc anchor nuts.
Anchor nuts do not fail turning in place as they are held rigid using two small rivets. These rivets can be countersunk using a spcial countersink drill bit. If they are nyloc then you don't have to balance fiddly nyloc nuts behind the rivnut.
I found the anchor nuts took about 4 hours to install for the boot cowl.

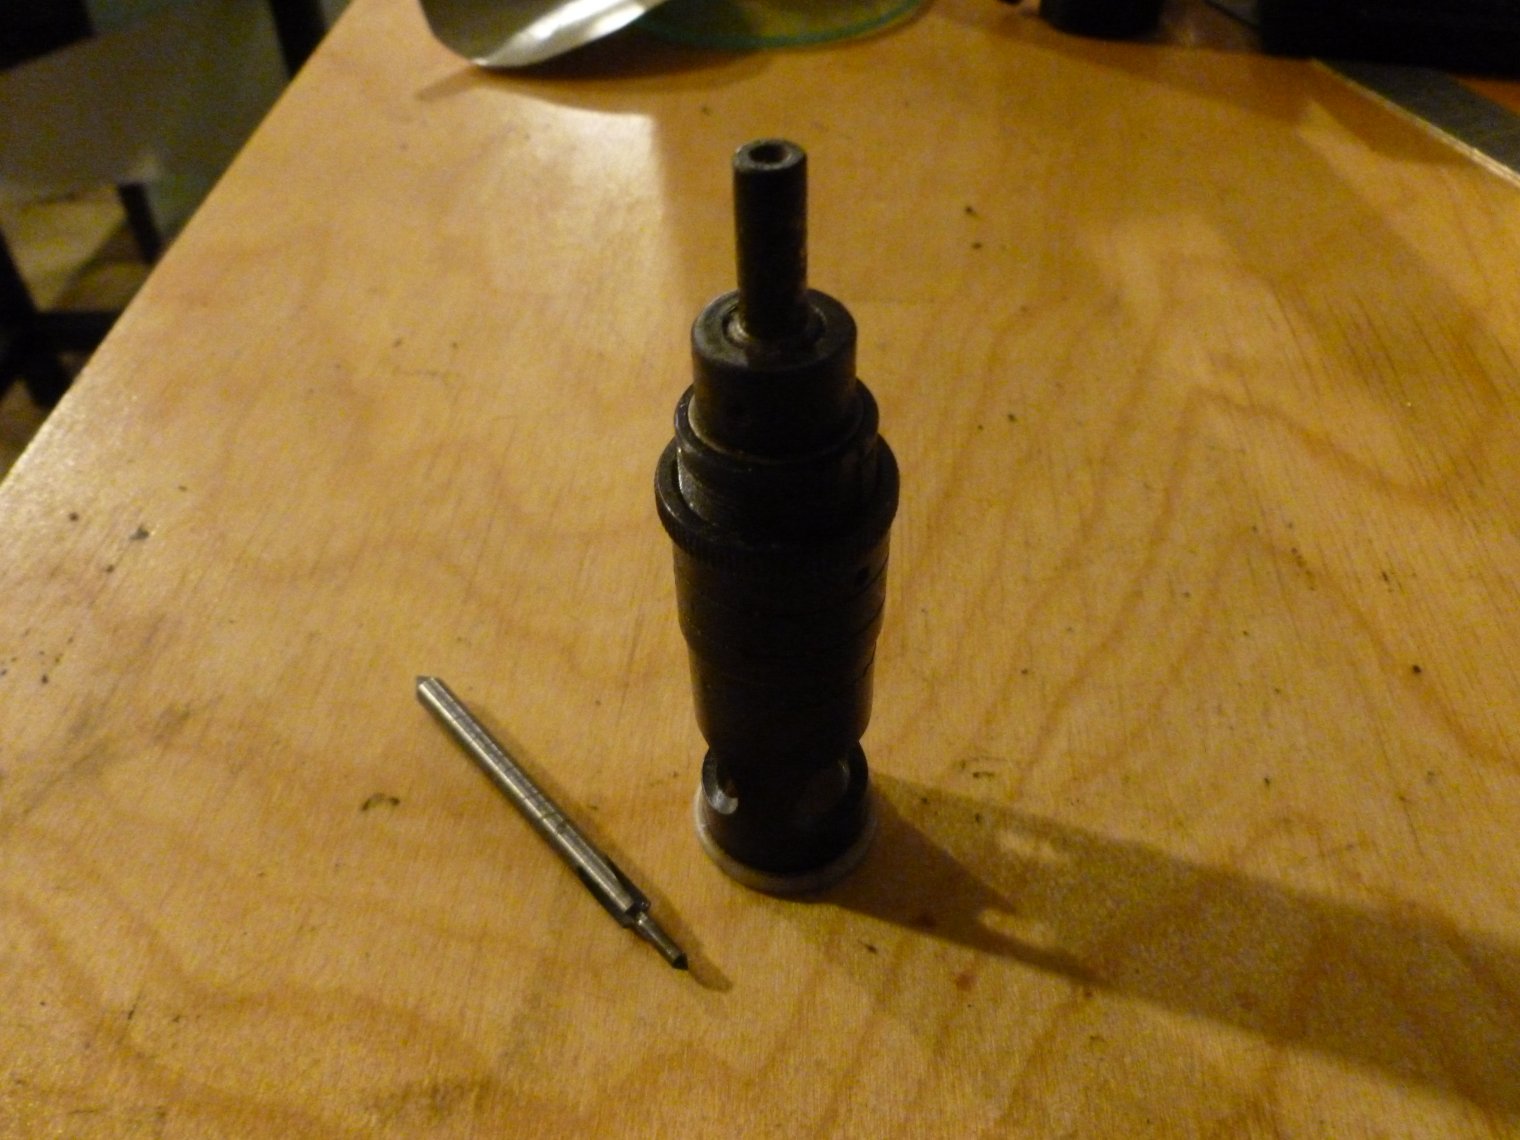
Tools needed
Hand riveter
An imperial drill guage for measurement of which drill bits you need
3/32 countersink drill bit
1/8 cleco
Deburring tool and small diamond needle file
Materials
UNC, steel cadmium plated, full size, double lug, nyloc anchor nut. LAS part number: A136-C77
LAS part number AGS4718-306BH 3/32 pop rivets
#8-32 UNC Cadmium plated Pan head screws MS35206
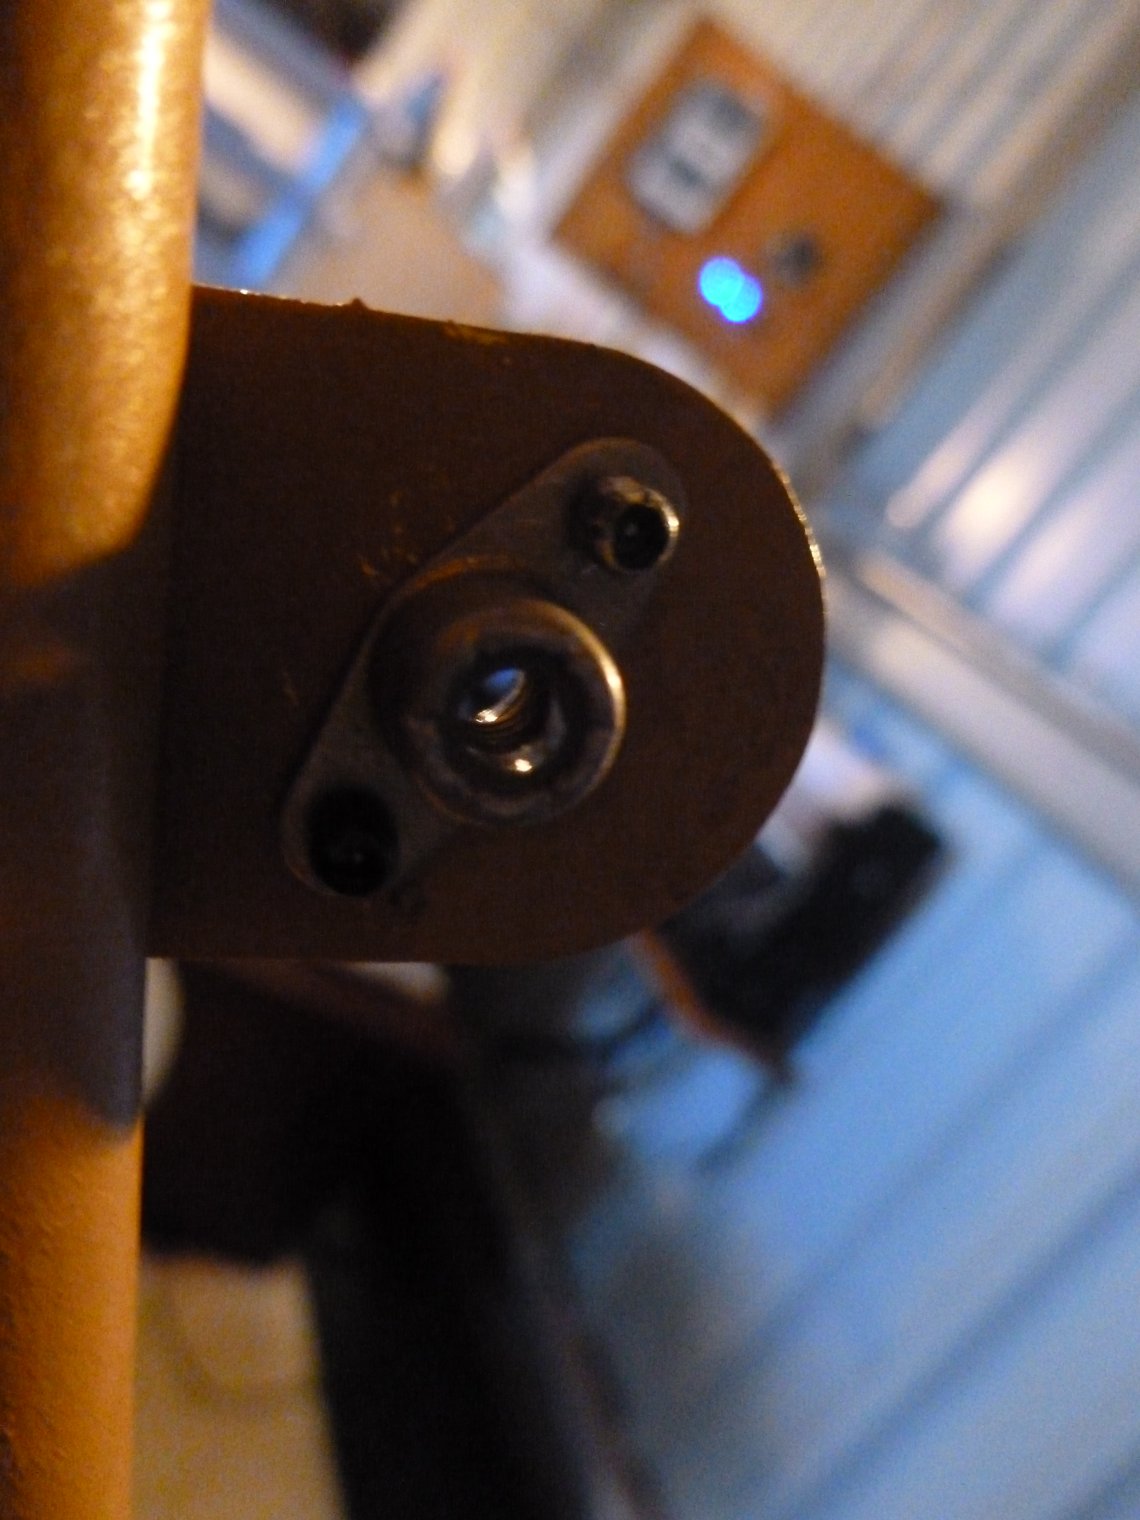
There are two 3/32 rivets either side of the hole for the screw. The centre hole should be slightly bigger than the screw; use the drill guage to help select the drill bit. The hole in the boot cowl should be near as possible to the screw size.
Each hole should be deburred using a deburriing tool and a small diamond needle file. The kit came with 1/8 holes. I used the 1/8 cleco to position the anchor nut from the front. The 3/32 cleco pulled the anchor nut slightly to the side due to an absense of space. So I used the 3/32 rivet to hold the position. Just placing the rivet in the hole using my hand but not pulling it; before drilling the second 3/32 hole.
Additional pictures